How to Use a Free AI Image to Video Generator (Step-by-Step Guide)
Table of Contents
- What 'Free' Actually Buys You in 2026
- The 5 Free AI Image to Video Generators Worth Your Time
- The 7-Step Universal Workflow
- 5 Mistakes That Murder Your AI Video Quality
- Building a Multi-Tool AI Video Stack
- Batch Production on a Free Tier
- Free vs. Paid: The 4 Trigger Points
- Your 15-Minute First Video Checklist
You have 12 product photos from last week's launch. The Reels need to ship by Friday. The freelance motion designer quoted $400 per clip. After Effects has a 40-hour learning curve you don't have. So you open a browser tab, type "free ai image to video generator" into Google, and suddenly you're staring at 47 tools with names like Kling, Luma, Vheer, and Vidu — half of which didn't exist 18 months ago.
Here's where 2026 changed the game: a free AI image-to-video generator can now turn one still photo into a 5-second 1080p clip in roughly 2-5 minutes, according to the AI Video Quick Start Guide. That's not a demo-reel claim. That's the standard performance envelope on a free tier today.
Free doesn't mean janky anymore — it means you trade convenience features (batch processing, no watermark, long clips) for the core capability, which is now genuinely good.
By the end of this article, you'll know which free tool to start with, the exact 7-step generation workflow, the 5 mistakes that destroy output quality, and the four specific moments when paying actually makes sense.
What 'Free' Actually Buys You in 2026 (And What It Quietly Costs)
Most free AI image-to-video tools in 2026 run on one of three economic models. Understand the model and you understand the constraint.
Daily credit refresh. Roughly 3-5 generations per day, reset at midnight UTC. Best for casual creators producing under 100 clips per month. The cap forces patience, not quality.
Monthly hard cap. Around 30-60 generations total, no rollover. Burn them in week one and you wait. Best for project-based work where you know the deliverable count up front.
Open access with watermark. Unlimited generations, but a vendor logo sits in the bottom-right corner. Workable for internal experimentation. Catastrophic for client deliverables.
Now the structural comparison.
Free Tier vs. Paid Tier: What Actually Changes
| Feature | Typical Free Tier | Typical Paid Tier ($15-30/mo) |
|---|---|---|
| Clip length | 5-8 seconds | 10-20 seconds |
| Resolution | 720p-1080p | 1080p-4K |
| Watermark | Usually present | Removed |
| Generations/month | 30-90 (or daily cap) | 300-1,500 |
| Queue priority | Standard (2-5 min wait) | Priority (under 1 min) |
| Commercial license | Often restricted | Typically included |
| Motion control | Preset paths only | Custom motion brush, keyframes |
Clip-length and generation-time figures pull from the AI Video Quick Start Guide and a vendor-published guide from Atlas Cloud AI.
Which gaps matter depends entirely on what you ship. For social media organic content, a small watermark in the corner is survivable — most viewers won't notice and engagement won't tank. For paid ads, the watermark disqualifies you instantly. Meta's ad review system rejects creative with visible third-party logos, so a watermarked free-tier clip cannot run as a Facebook or Instagram ad without removal.
The silent killer for freelancers is the commercial license restriction. Many free tiers explicitly prohibit using output for paid client work. Read the terms before you invoice. A $30 monthly upgrade is cheaper than a copyright dispute with a client who used your output in their product launch.
The verdict: a free AI image to video generator is excellent for testing tools, posting organic social content, and personal projects. Free tiers fail at scale, paid ads, and white-label client work. Know which side of that line you're on before you commit to a workflow.
The 5 Free AI Image to Video Generators Worth Your Time in 2026
These tools are not ranked best-to-worst. They're ranked by best-fit use case. The free AI video tooling category churns monthly — credit allocations shift, watermark policies change, new models drop. Always verify free tier specs on the vendor site before signing up.
Kling AI — Best for Realistic Human and Action Motion
Free tier: roughly 6 daily credits, 5-second clips, 720p output, watermarked. Best for: people moving naturally — waving, walking, smiling, turning. Kling handles human anatomy and motion physics better than most peers on the free side. Limitation: queue times balloon to 10+ minutes during US and EU evening hours when demand spikes. Generate at off-peak hours or expect to wait. The AI Video Quick Start Guide lists Kling among its three core recommended tools for free-tier workflows.
Luma Dream Machine — Best for Cinematic B-Roll
Free tier: around 30 generations per month, 5-second clips, 1360×752 resolution, watermarked. Best for: landscapes, product hero shots, atmospheric mood pieces, drone-style fly-throughs. Luma's motion feels filmic — slow, deliberate, with realistic parallax. Limitation: human faces frequently go uncanny by the third frame. Use Luma when no one is looking directly at the camera. Featured in HubSpot's multi-tool video workflow tutorial.
Runway Gen-3 Alpha Turbo — Best for Quick Iteration
Free tier: 125 one-time credits (roughly 10 short generations), 5-10 second clips, watermarked. Best for: trying multiple animation styles fast when you're not yet sure what works. Runway's UI is the most polished of the bunch, which matters when you're learning. Limitation: the free credits don't refresh. Once gone, you wait for a promotional drop or pay. Treat Runway as a paid trial, not an ongoing free tool.
Most free image-to-video tools nail simple animations and break on complex human motion. Pick your tool by what your content actually contains, not by which homepage looks slickest.
Google Flow (Frame-to-Video) — Best for Free Plus Cinematic Control
Free tier: included with a Google account, generous monthly limits, no visible watermark on most output. Best for: scene-by-scene character consistency and story-driven sequences. Google Flow is what Jeff Su uses in his cinematic AI video tutorials, pairing it with Google's free image generator for character consistency across clips. Limitation: requires a Google AI subscription tier for full feature access, and the UI is less consumer-friendly than Luma or Runway. You should know that the underlying AI models powering these tools differ significantly under the hood, which is why output quality varies wildly between platforms even on identical inputs.
Vheer / Vidu Q2 (Open Access) — Best for No-Watermark Volume
Free tier: 5-20 second clips, no watermark on the "Vheer Quality" setting per vendor claims. Best for: high-volume social content where a watermark would suppress organic engagement. According to vendor source Atlas Cloud AI, Vheer offers watermark-free exports between 5 and 20 seconds — but Atlas Cloud is a promotional source, not an independent benchmark. Verify with a test generation before committing your workflow to it. Output quality fluctuates more than Kling or Luma, and the platform's longevity is unproven.
If you only try one tool today, try Luma for cinematic content or Kling for human motion. Skip the others until you've burned through one free tier and know exactly what you're missing.
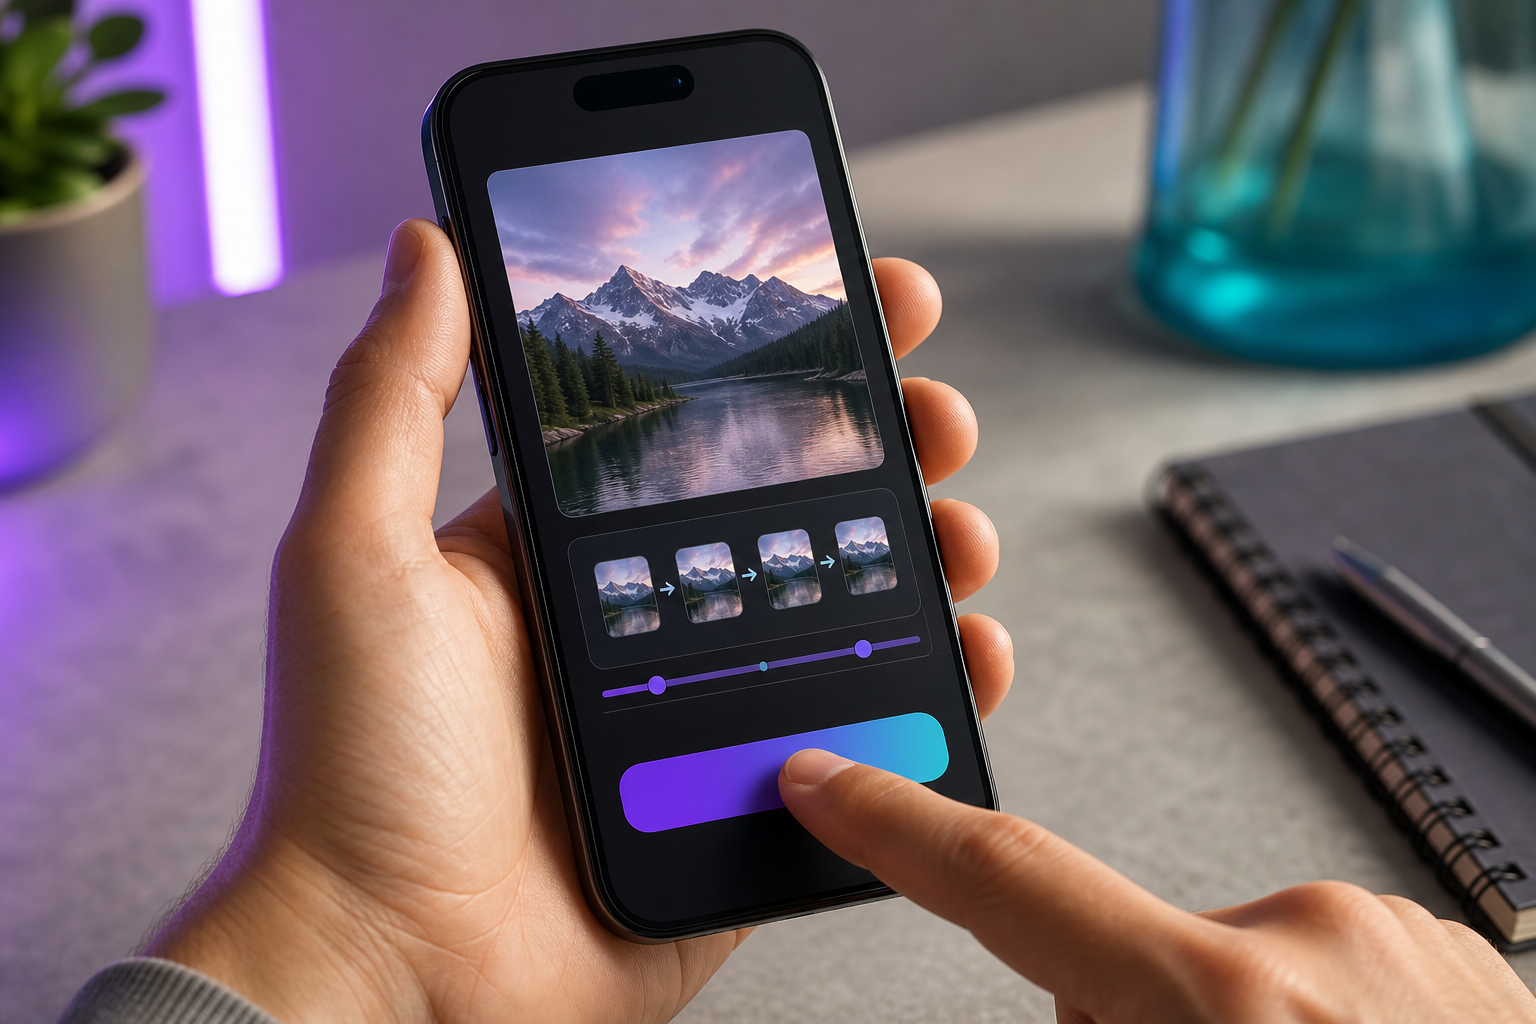
The 7-Step Universal Workflow: Image In, Video Out
Every free AI image to video generator, regardless of brand, follows the same 7-step flow. Master it once and you can switch tools in minutes.
Step 1 — Prepare a high-quality source image. Minimum 1280×720 for 720p output, 1920×1080 for 1080p. Crisp focus, even lighting, single clear subject. Brandon Hancock frames AI videos as "nothing more than an image that gets turned into a full video" — the framing matters because it forces you to treat the input as the determining factor.
Step 2 — Create the free account. Most tools accept Google sign-in. Use a dedicated email if you plan to test multiple platforms — free credits attach to the email, and one inbox tied to five tools gets messy fast.
Step 3 — Upload the image and select "Image to Video" mode. Some tools label this "I2V" or "Frame to Video." Don't accidentally land in text-to-video mode, which uses a different model and will ignore your uploaded image entirely. This is where most first-time users of a free AI image to video generator burn their first credit on nothing.
Step 4 — Choose motion type or write a motion prompt. Two patterns exist: preset paths (pan left, zoom in, parallax, orbit) or text prompts describing motion ("camera slowly orbits subject, leaves rustle in background"). Start with presets for predictability. Custom motion prompts demand specific vocabulary that varies by tool, and a bad prompt on a free credit is wasted.
Step 5 — Set duration and resolution. Default to 5 seconds at 1080p — the industry-standard starter configuration per the AI Video Quick Start Guide. Longer clips on free tiers often consume multiple credits and produce more artifacts as the model has more frames to hallucinate.
Step 6 — Generate and wait. Expect 2-5 minutes on free tiers; under 1 minute on paid. Resist the urge to refresh, cancel, or open a second generation. Most free queues drop your job if you bail mid-process.
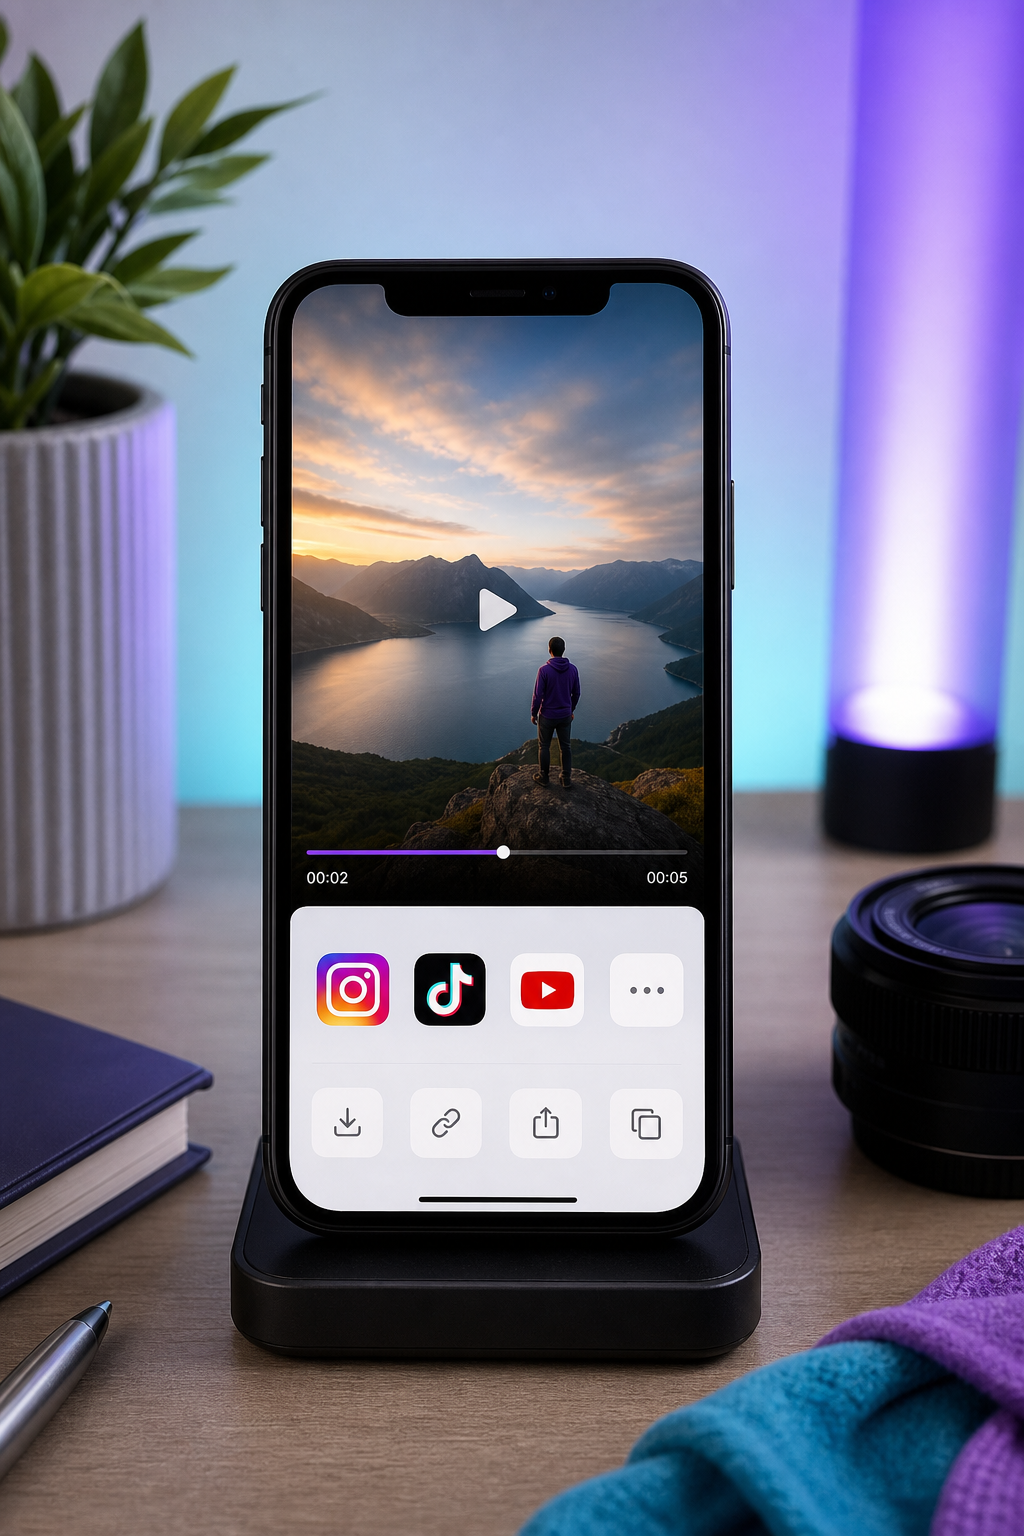
Step 7 — Download as MP4 and check it on your target device. MP4 is the de facto standard format, compatible with CapCut, Premiere, and every social platform. View the clip on the device where it'll be published. A video that looks fine on a 27-inch monitor can show ugly compression on a 6-inch phone — that's where your audience will actually see it.

5 Mistakes That Murder Your AI Video Quality (And How to Fix Each One)
Most people blame the AI when output looks bad. In 90% of cases, the AI did exactly what the inputs told it to. Here are the five input mistakes you control.
Mistake 1: Starting from a low-resolution or compressed source image
A 600×400 JPEG screenshot will generate a soft, smeary 5-second clip no matter which model processes it. Both Brandon Hancock and the 2026 AI Video full course hammer this point: source image quality is the single largest determinant of perceived output quality.
Fix: Always upload at the tool's maximum supported resolution. If your image is small, upscale it first with a free upscaler like Upscayl or Bigjpg before uploading. Five minutes of upscaling rescues a generation that would otherwise burn a credit on garbage output.
Mistake 2: Mismatched animation choice
Picking "extreme zoom in" on a human portrait produces uncanny facial distortion as features stretch toward the lens. Picking "pan left" on a landscape with no horizontal depth produces a flat, unnatural slide that looks like a PowerPoint transition.
Fix: Match animation to image content. Portraits get subtle parallax or gentle head tilt. Landscapes get slow push-in or drone-style pull-back. Product shots get orbit or hero rotation. The animation should reveal something the static image hides — a sense of depth, scale, or atmosphere — not flatten what's already there.
Mistake 3: Ignoring aspect ratio
Many tools auto-crop a 16:9 image to 9:16 vertical, slicing off your subject's head or your product label. You generate, wait three minutes, download, and discover the crop killed the shot.
Fix: Crop intentionally to the target ratio before uploading. Prep three versions of every hero asset: 16:9, 9:16, and 1:1. The two extra crops take 90 seconds in any image editor and eliminate the most common form of wasted free credit.
The quality gap between free and paid output usually isn't the software. It's the source image. A crisp, well-composed input beats a blurry one no matter which generator you use.
Mistake 4: Expecting consistent characters across clips
Per Jeff Su, "the real challenge is consistency: getting your characters, voices, and scenes to stay the same across multiple clips." If you generate the same character in two separate sessions, they will look like cousins, not the same person. Hair color shifts, jawline drifts, eye spacing changes.
Fix: Generate one canonical character image, then use that exact image as the source frame for every clip featuring that character. Treat the image as a visual contract the AI must honor. This is the same principle behind why generative AI versus agentic AI workflows produce such different results — generative tools amplify whatever input you give them, while agentic tools enforce constraints across steps. For your character work, you are the constraint enforcer.
Mistake 5: Skipping the pre-production frame
The 2026 AI Video course argues that lighting, emotional intent, and color direction must be defined at the image stage — not the video stage. If you upload a flatly-lit image and prompt "dramatic cinematic motion," the AI cannot retroactively add cinematic lighting. It can only move what's already there.
Fix: Treat your source image as a film still. Decide mood, lighting, and color before the upload step. A 30-second pre-production checklist — "Is the lighting directional? Is the color palette intentional? Does the subject feel something?" — produces dramatically better generations than any prompt-engineering trick on a flat input.
The synthesis: a free AI image to video generator amplifies whatever you give it. Garbage in, polished garbage out. The fastest way to leapfrog 80% of free-tool users is not finding a better model — it's spending an extra 5 minutes preparing the input.
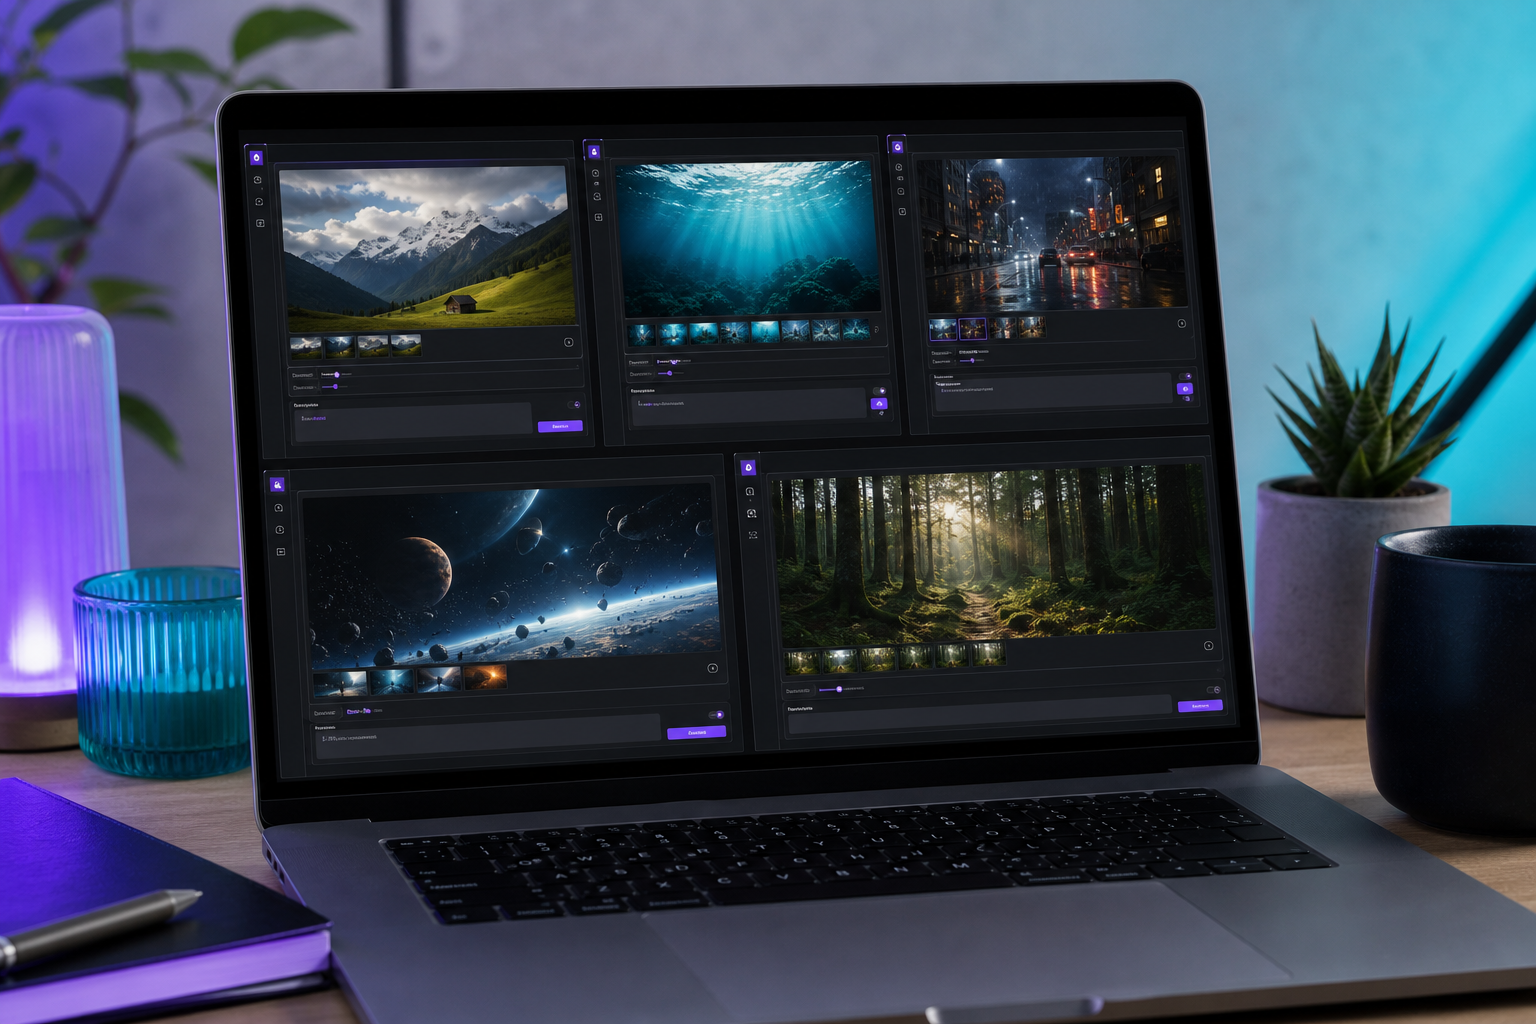
Building a Multi-Tool AI Video Stack (When One Generator Isn't Enough)
The YouTube tutorial industry sells "one tool does everything" because it's easier to teach. Reality, per HubSpot's marketing team, is that effective AI video creators chain 5+ tools across the production pipeline.
The 5-Layer Free AI Video Stack
| Layer | Job | Free Tool Options |
|---|---|---|
| Script | Outline and dialogue | ChatGPT free, Claude free |
| Image | Generate source frames | DALL·E (Bing Image Creator), Google Imagen |
| Image-to-video | Animate the frame | Kling, Luma, Runway, Google Flow |
| Voiceover | Narration or character voice | ElevenLabs free tier (10k chars/mo) |
| Music | Background score | MusicFX, Suno free tier |
The stack pattern is sourced from HubSpot's multi-tool workflow and Jeff Su's cinematic guide, which both arrive at the same 5-layer structure independently.
Walk through what changes as each layer joins the chain. A bare image-to-video clip is excellent B-roll inside an existing video — drop it into a YouTube edit and the production value jumps. Add a voiceover layer and you have a 15-second social ad ready to ship. Add music and the piece becomes a polished mini-film with emotional pacing. Add scripting and image generation upstream and you have a full short-form pipeline that ships without you ever touching a camera or hiring talent.
But chain five tools and you juggle five logins, five free tier quotas, and five separate quality bars. The time saved on production gets partially eaten by tool-switching overhead. A free AI image to video generator on its own is enough for a single 5-second clip. For a recurring weekly series, build the stack. For one-off experiments, don't bother.
A free AI video stack is a workshop, not a button. Five tools chained together will beat any single all-in-one platform — once you're producing weekly.
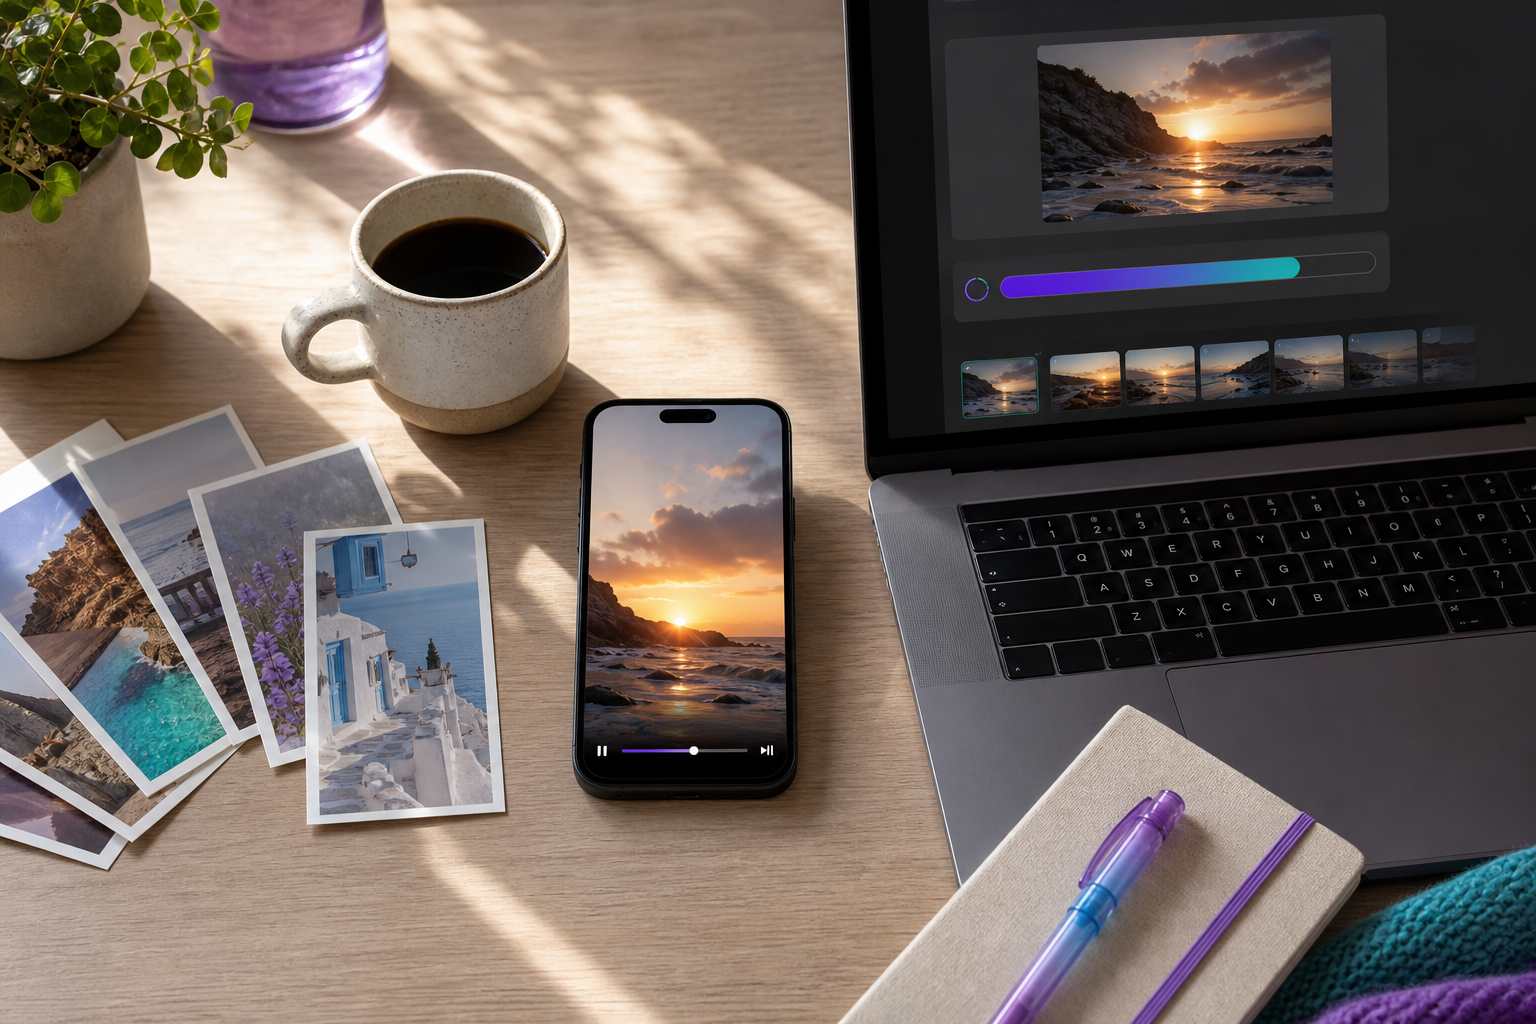
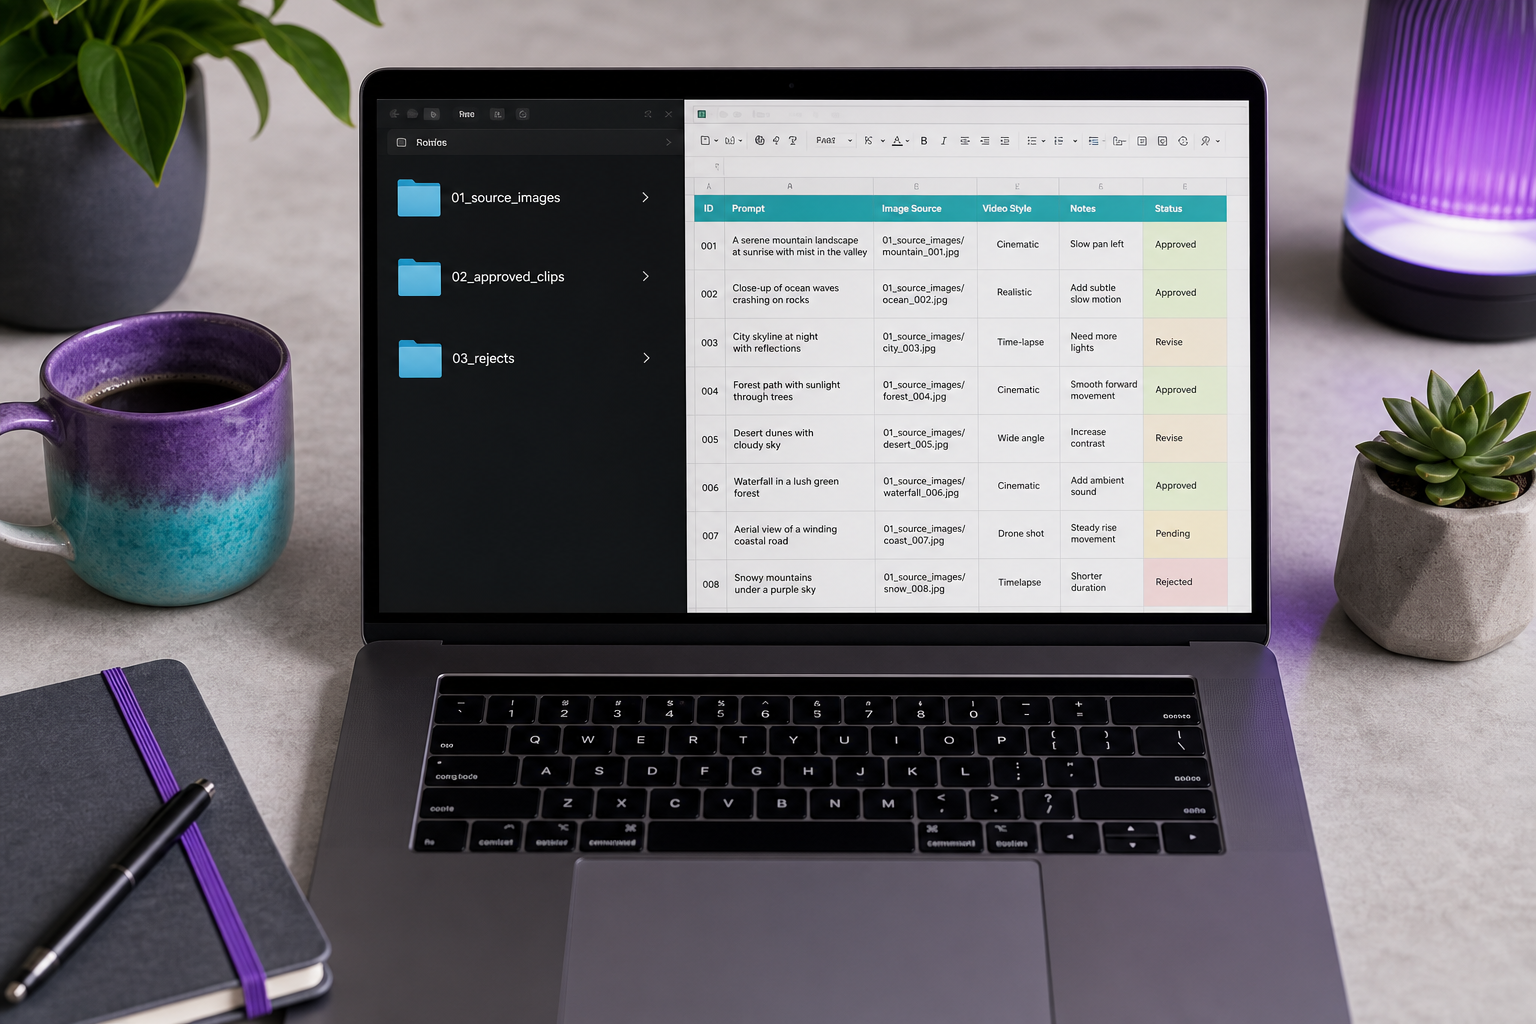
Batch Production: How to Generate 20 Clips a Week on a Free Tier
Free tiers cap you at 3-6 generations per day. You cannot brute-force volume. You have to engineer around the cap.
- Batch your image prep first, generation second. Spend Monday preparing 20 source images — crop, upscale, set mood, fix lighting. Spend Tuesday through Sunday generating 3-4 per day. Splitting prep from generation removes context-switching cost and protects your prep time from being interrupted by waits.
- Stack two free tools. Use Kling for human motion and Luma for landscape B-roll. Two free tiers equal roughly double the daily output without paying a dollar. The trade-off is two account logins and two queue checks — minor friction for double volume.
- Generate at off-peak hours. Free queues are fastest at US 3-7am ET when European users sleep and Americans haven't woken up. Schedule generation runs first thing in the morning or right before bed. A 2-minute generation at 6am beats a 12-minute wait at 9pm.
- Use consistent naming from the start. Format:
project_scene_motion_v1.mp4— for example,launchad_hero_zoomin_v1.mp4. When you have 60 clips by month end, you will thank yourself. Searching "video_final_FINAL_2.mp4" through a Downloads folder is its own punishment. - Build a reject pile folder. Roughly 30-40% of free-tier generations will have artifacts you can't ship — twisted hands, melting faces, wrong motion direction. Move rejects out immediately so your approved folder stays publish-ready.
- Keep a prompt log. A simple Google Sheet: image name, motion preset, prompt text, result quality (1-5). After 30 clips you'll see which prompt patterns succeed. After 100 clips you'll have a personal cheat sheet worth more than any tutorial.
- Generate at 5 seconds, not max length. Per the standard starter configuration, 5-second clips finish fastest and rarely consume extra credits beyond the base allocation. Longer clips also have more frames where things can go wrong.
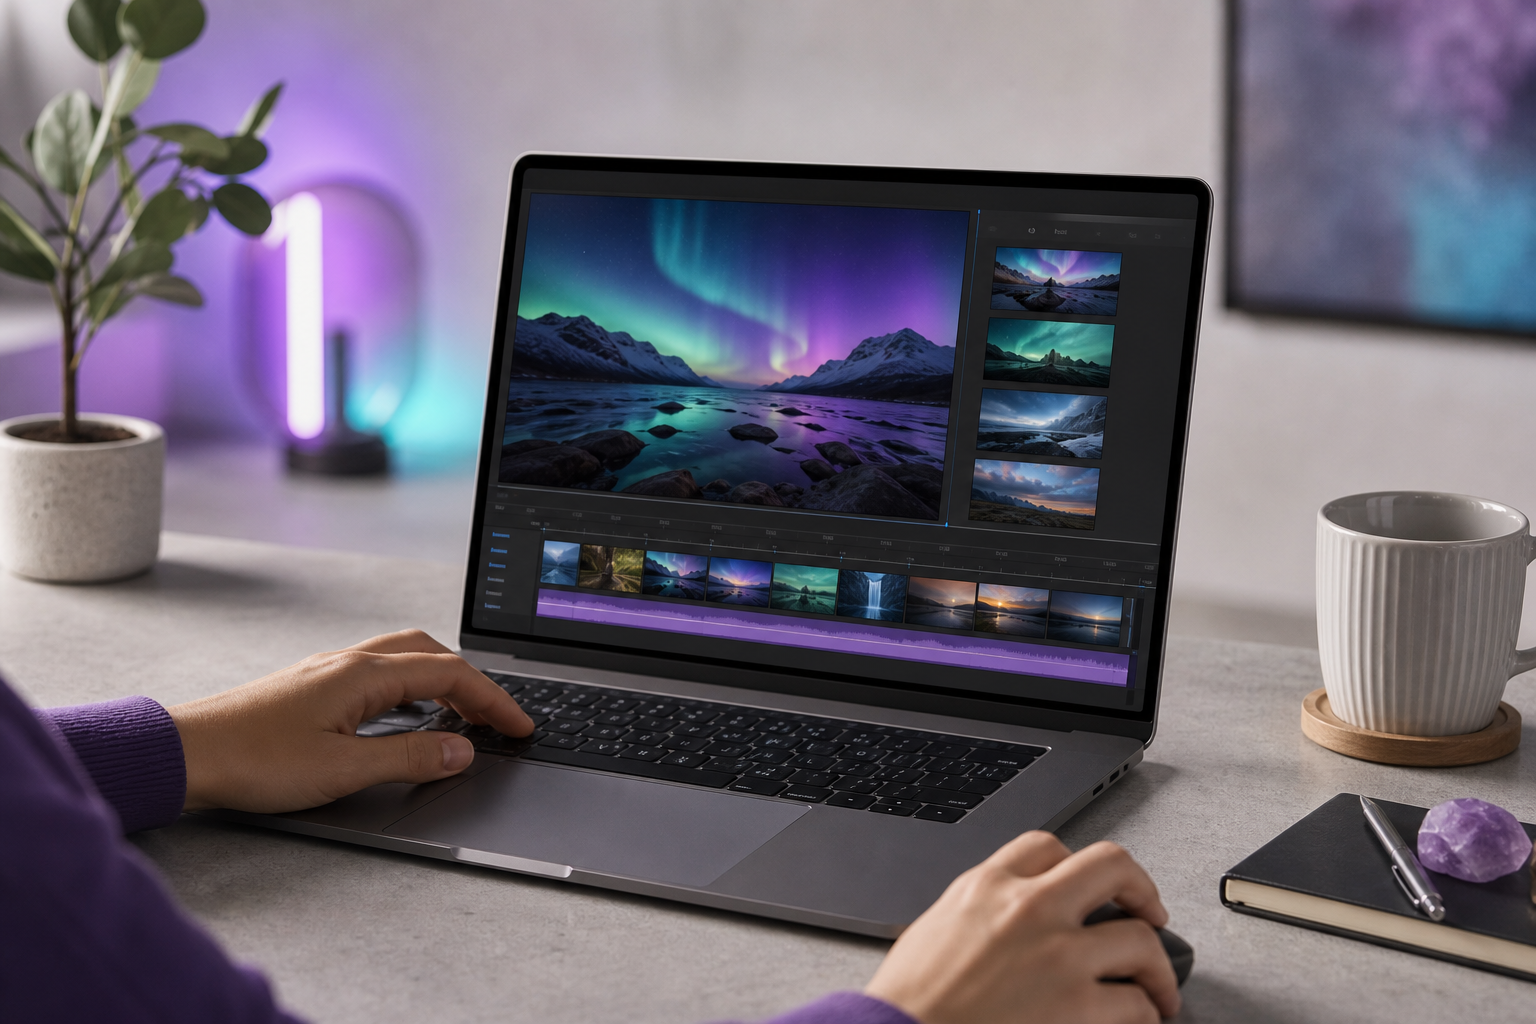
- Treat clips as B-roll, not finished videos. Per HubSpot's framing, assemble multiple short AI clips in CapCut to build the final piece. Stop trying to generate one perfect 20-second clip and start generating five 5-second ones. The same operational discipline applies when modernizing older content workflows — break the big deliverable into modular pieces, then compose.
Free-tier volume isn't about better tools. It's about better operations.
Free vs. Paid: The 4 Trigger Points That Justify Upgrading
Stay free as long as humanly possible. Upgrade only when you hit a specific, named friction point — not because the upgrade page is well-designed.
Free vs. Paid Decision Triggers
| Trigger | Free Tier Reality | What Paid Solves | Monthly Cost Range |
|---|---|---|---|
| Watermark blocks ad approval | Logo bug in corner | Clean export | $15-30 |
| Volume exceeds ~60 clips/month | Hit cap by week 3 | 500-1,500 generations | $20-50 |
| Client work needs commercial license | Often restricted | Full commercial rights | $20-30 |
| Need clips longer than 8 seconds | Capped at 5-8s | 10-20s clips, sometimes more | $25-50 |
Clip length and free tier limit ranges synthesize data from the AI Video Quick Start Guide and vendor-published comparisons.
Walk through the real scenarios. The weekend creator making one Reel per week stays free forever — no trigger ever fires, and an upgrade is wasted money. The Etsy seller posting daily product videos hits the volume cap around month two; upgrade or stack two free tools to bridge the gap. The freelance ad creative delivering to clients trips the commercial license issue on the first paid job, so upgrade before you invoice — the $30 looks cheap next to the legal risk. The agency producing for five clients skips free tiers entirely and goes straight to a paid plan with team seats, because the per-seat math beats juggling five personal accounts that violate vendor terms.
The honest take: free tiers in 2026 cover roughly 80% of casual use cases. The remaining 20% — paid ads, client deliverables, daily volume — is where about $20 per month becomes obviously worth it. A free AI image to video generator gets you to your first 50 clips. Production scale gets you to the upgrade button.
Your 15-Minute First Video Checklist
The only thing standing between you and your first AI-generated video is 15 minutes and this checklist. Do these in order. Do not deviate.
- Pick one image. Resolution minimum 1280×720. Sharp focus, one subject, good lighting. Spend no more than 2 minutes choosing. Perfectionism kills momentum.
- Decide your output ratio. 9:16 for Reels and TikTok, 1:1 for Instagram feed, 16:9 for YouTube. Crop the image to that ratio now, before you upload anything.
- Pick one tool. First-timers: use Luma Dream Machine for landscape or product content, or Kling AI for human subjects. Do not comparison shop today. The free AI image to video generator you pick first is not the one you'll use forever — it's the one that gets you a working video by tonight.
- Create the free account. Use Google sign-in to skip email verification. Get past the signup wall in under 60 seconds.
- Upload to "Image to Video" mode. Do not touch text-to-video. That's a different workflow that ignores your image entirely.
- Choose a preset motion. Pan, zoom-in, or parallax. Do not write a custom motion prompt on your first try. Custom prompts fail in ways you can't yet diagnose.
- Set duration to 5 seconds, resolution to 1080p. The standard starter configuration exists because it produces the most reliable output on free tiers.
- Click Generate. Wait 2-5 minutes. Do not refresh, do not start a second generation, do not panic. The progress bar lies but the queue is real.
- Download the MP4. Open it on the device where you'll publish — your phone, not your laptop. The phone is where the audience watches.
- Decide: ship it or regenerate. If the motion is wrong, change the preset and rerun. If the subject looks distorted, your source image had the wrong content for that motion — pick a different image, not a different tool.
The only AI video that matters is the one you actually publish today. The second one will be better. The tenth will be good. Start now.